

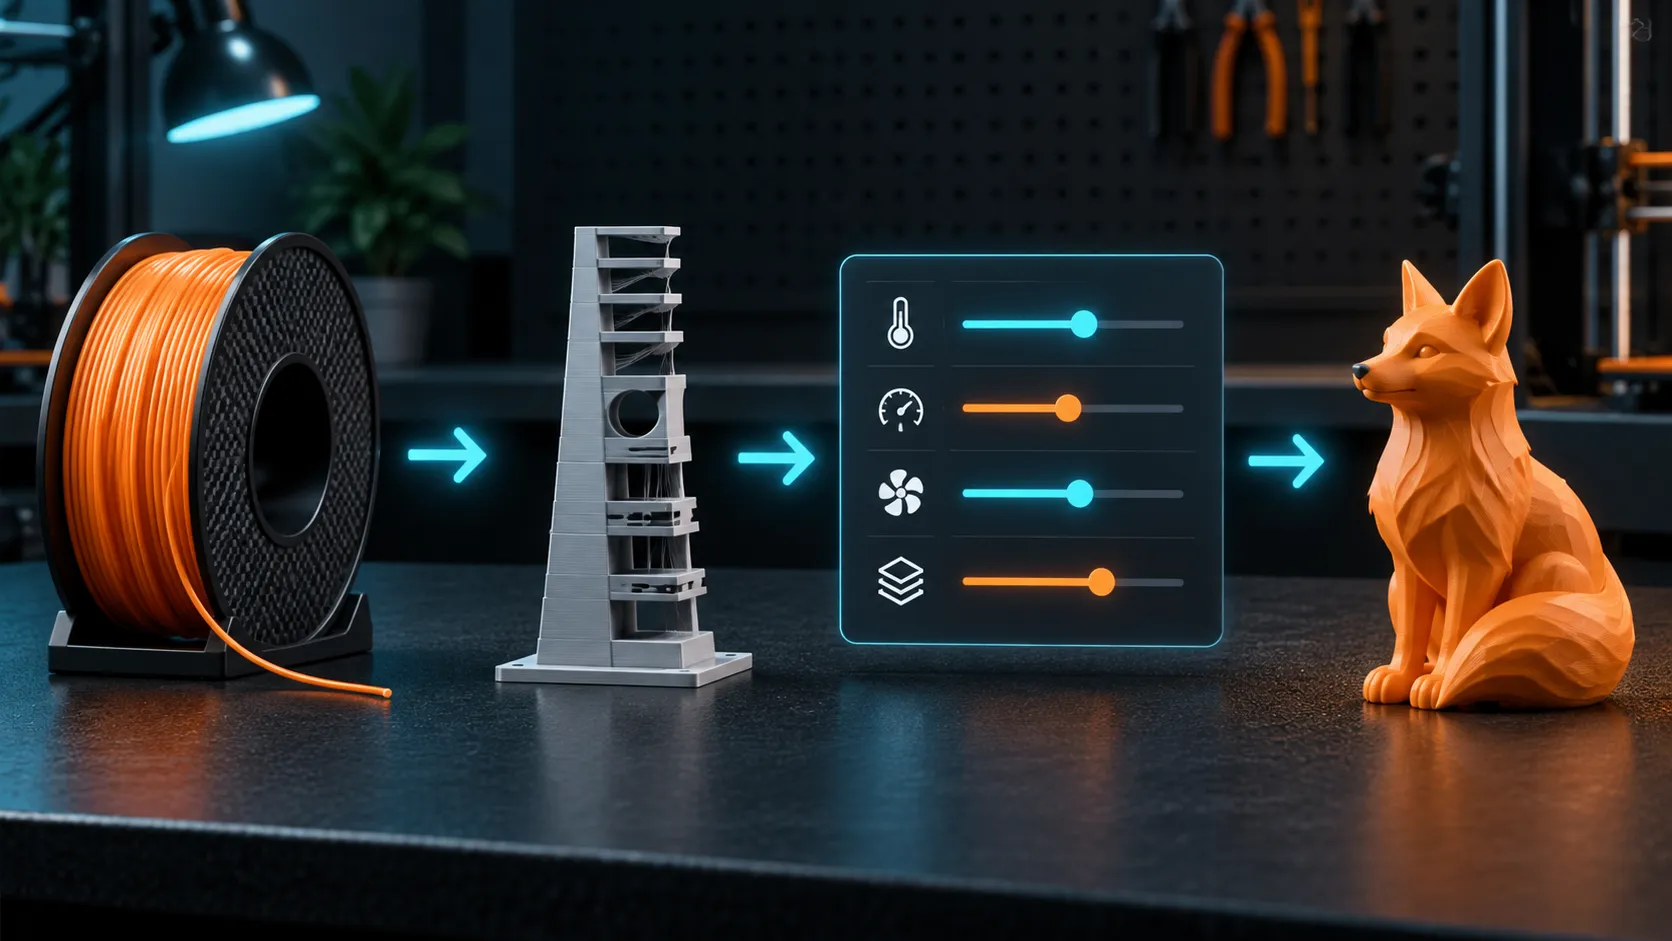
Bambu Lab flow calibration sounds like one task, but Bambu Studio and OrcaSlicer expose several related settings. Confusing them produces profiles that look good on a test patch and fail on a real part. Increasing flow ratio cannot cure insufficient melt capacity, a high K value cannot repair a wet spool, and lowering MVS cannot correct a nozzle diameter selected incorrectly in the slicer.
This workflow is intended for a new filament formulation, color, nozzle, or hotend. It is especially useful for third-party spools. It does not imply that every first-party Bambu profile needs recalibration; a known-good stock profile should remain your control.
Bambu Lab flow calibration: three controls, three jobs
| Control | What it changes | Typical symptom when wrong | What it cannot fix |
|---|---|---|---|
| Flow ratio / extrusion multiplier | Steady-state volume commanded for a given path | Consistently overfilled or underfilled surfaces and walls | Pressure lag only at corners or speed changes |
| Flow Dynamics / pressure advance K | Compensates elastic pressure buildup and release during acceleration/deceleration | Bulged corners, gaps after corners, uneven line starts/ends | Overall material amount or hotend melt capacity |
| Maximum volumetric speed | Caps requested plastic volume per second | Fast sections turn matte, weak, thin, or inconsistent | A profile that over-extrudes even at low speed |
| Nozzle temperature | Changes viscosity, bonding, and available melt rate | Poor bonding when low; stringing/degradation when excessive | Wet filament, worn hardware, or an obstructed nozzle |
In Bambu Lab flow calibration, maximum volumetric speed is the material volume melted and extruded per second and is used to limit print speed. The slicer converts line width, layer height, and motion speed into a flow demand. A profile with a lower MVS can therefore slow only high-flow regions while leaving lower-flow travel and detail behavior largely intact.
Prepare before running Bambu Lab flow calibration
Prepare Bambu Lab flow calibration under controlled conditions:
- Dry the filament when the material is hygroscopic or shows popping, steam, roughness, or unusual stringing. Calibration cannot normalize random water content.
- Confirm hardware. Set the physical nozzle diameter and type in the slicer. Inspect for partial clogging and excessive wear.
- Use a representative build plate with a clean surface. A damaged first layer makes every visual comparison unreliable.
- Start with a sane temperature. Use the manufacturer’s range or the nearest safe generic profile. Avoid changing temperature during a flow-ratio comparison.
- Disable unrelated experiments. Keep layer height, cooling, acceleration, and wall generator consistent between candidates.
If you need to create the filament entry first, follow how to add third-party filament to Bambu Studio. For a field-by-field overview, see our Bambu filament settings guide.
Do not calibrate around a restriction
A partially obstructed hotend can make every value look unusually low or inconsistent. If extrusion curls sharply, pulses, or remains thin even at modest speed, use the Bambu nozzle-clog diagnostic before storing a profile that merely compensates for a hardware fault.
Step 1: calibrate flow ratio
The first measurable stage of Bambu Lab flow calibration is flow ratio, which adjusts the steady amount of plastic delivered. Bambu Studio’s Flow Rate calibration typically prints comparison surfaces in passes, allowing you to select the tile with the most even top texture—neither separated and rough from under-extrusion nor ridged and plowed from over-extrusion. Use the current labels and calculation shown by your installed Bambu Studio version rather than copying a formula from an old screenshot.
How to judge the samples
Use raking light from the side, not only a top-down photo. A good sample has lines that meet cleanly without deep valleys, sharp standing ridges, or a rough patch where the nozzle has dragged through excess plastic. Ignore a tiny isolated scar caused by contamination; judge the repeated texture over most of the tile.
Do not choose the shiniest sample automatically. Gloss changes with temperature and speed. Also avoid measuring a one-wall cube as the only evidence: wall thickness can be affected by line-width behavior, motion, shrinkage, and the slicer’s wall strategy. The built-in multi-sample surface test is better for relative selection.
When the test is inconclusive
If every candidate is rough, stop. Check dryness, nozzle cleanliness, first-layer height, and temperature rather than choosing the least bad patch. If two adjacent samples are indistinguishable, choose the more conservative one and confirm with a representative part containing broad top surfaces and normal walls.
Step 2: calibrate Flow Dynamics K
The second stage of Bambu Lab flow calibration addresses pressure in the melt path, which does not rise and fall instantly with extruder commands. At acceleration, insufficient compensation can leave a thin start; at deceleration, stored pressure can create a corner bulge. Bambu calls its pressure-advance calibration Flow Dynamics and stores a K value. The ideal value produces the most consistent line width through speed transitions.
| Observation | Likely interpretation | Next action |
|---|---|---|
| Bulge at the slow end/corner | Pressure is released too late; K may be too low | Compare a higher labeled K region |
| Thin gap after a transition | Compensation may be excessive; K may be too high | Compare a lower labeled K region |
| All lines pulse or vary everywhere | Mechanical/feed/nozzle/material issue, not just K | Inspect path and repeat after fixing baseline |
| Only high-speed end becomes thin | Hotend may be near melt limit | Do MVS test after K baseline |
Automatic calibration is convenient when supported, but a saved value still belongs to a specific combination of printer, nozzle, filament, and process conditions. After a nozzle diameter change or a substantially different material, verify it. The official Bambu Flow Dynamics guide should be your interface reference because menu behavior can change.
Step 3: find maximum volumetric speed
The final throughput stage of Bambu Lab flow calibration treats MVS as a ceiling, not a target. OrcaSlicer’s volumetric-speed test progressively increases flow so you can identify where the material/hotend combination stops keeping up. Official Orca documentation uses a default example range of 5–20 mm³/s in 0.5 increments, but that is only a starting range. Choose bounds appropriate to the polymer, nozzle, and hotend.
Recognize the real failure point
Look for a sustained change: the wall becomes suddenly matte, thin, rough, weak, or separated; extrusion begins to skip; or dimensional consistency changes at one level. A single seam blemish is not the throughput limit. Read the labeled flow at the first repeatable failure, then reduce the saved limit by roughly 5–10% for operating margin, as Orca’s guidance recommends.
If increasing nozzle temperature moves the failure point higher, decide whether the tradeoff is acceptable. More heat can change bridging, overhangs, stringing, dimensional accuracy, color, odor, and degradation. The fastest printable setting is not always the best-quality or most durable setting.
Read calibration failures without guessing
| Pattern | Likely variable | Check before recalibrating |
|---|---|---|
| Too much or too little plastic at every speed | Flow ratio | Nozzle diameter, filament diameter assumptions, clogging |
| Good straight lines, poor corners/transitions | K / pressure advance | Belts, loose nozzle, severe speed/acceleration extremes |
| Good low down, poor only as test speeds rise | MVS or temperature | Partial clog, heater stability, material dryness |
| Random bubbles and roughness everywhere | Moisture or contamination | Drying method and spool storage |
| First layer differs across the plate | Bed/nozzle geometry or contamination | Plate cleanliness, debris, nozzle condition, calibration state |
Retraction comes after the main extrusion baseline. It can reduce travel stringing, but it should not be used to conceal wet filament, extreme heat, or pressure errors. Likewise, cooling is material- and geometry-dependent: a tower that looks perfect with strong fan may not predict layer bonding in a thick functional part.
For PETG-specific temperature and cooling context, compare our Bambu PETG settings. If the spool produces steam, popping, or inconsistent tests, pause and use the filament drying guide.
Save a profile you can understand later
Finish Bambu Lab flow calibration by saving a profile with a name such as “Maker – Product – Color – 0.4 HS – Oct 2026,” not “PETG good.” Record nozzle type, diameter, drying condition, flow ratio, K, MVS, temperature, plate, and the slicer version. Keep the original stock or generic profile untouched so you can return to a clean control.
Then validate with a part that represents your real work: long straight walls, corners, holes, overhangs, broad top skin, and at least one high-flow region. A calibration coupon identifies a promising setting; a representative part confirms that the settings cooperate.
Confirm the profile at two realistic speeds
Print the representative part once at the normal profile speed and once with a conservative global speed limit. If both versions show the same wall and top-surface error, revisit flow ratio or hardware. If only the faster version turns matte, weak, or thin in broad sections, the MVS ceiling is the stronger suspect. If corners change while straight walls remain consistent, recheck K before changing steady flow.
This two-speed comparison is more useful than immediately raising temperature because it preserves a control. Weighing the parts can add evidence when the geometry and material are identical, but weight alone cannot locate the defect. Inspect seams, line starts, sharp corners, top skin, and layer bonding. Finally, reopen the sliced preview and color the model by flow: the regions that demand the most mm³/s should align with any throughput failure. If they do not, investigate cooling, geometry, or mechanical feed behavior instead of lowering MVS globally.
Bambu Lab flow calibration FAQ
Should I calibrate flow ratio or K first?
Establish a sensible temperature and dry material, calibrate flow ratio first, then Flow Dynamics K. Find maximum volumetric speed last because its failure point depends on the earlier baseline.
Is Flow Dynamics K the same as flow ratio?
No. Flow ratio changes the steady amount extruded. K compensates pressure lag during acceleration and deceleration. They solve different visual defects.
Does a higher maximum volumetric speed make every print faster?
No. It only raises a ceiling. A model limited by acceleration, cooling, minimum layer time, or small geometry may not use the added throughput.
Do Bambu filament profiles need manual calibration?
Often the stock first-party profile is a strong baseline. Calibrate when hardware, material behavior, or your quality requirements justify it; keep the stock profile as a comparison.
Can I use OrcaSlicer calibration values in Bambu Studio?
The underlying concepts are shared, but confirm that the destination profile uses the same printer, nozzle, units, and field meaning. Do not transfer a number blindly between different hardware or material profiles.
Official technical sources
- Bambu Lab: Flow Dynamics calibration
- Bambu Studio source: maximum volumetric speed
- OrcaSlicer official calibration index
- OrcaSlicer flow-ratio calibration
- OrcaSlicer pressure-advance calibration
- OrcaSlicer volumetric-speed calibration