

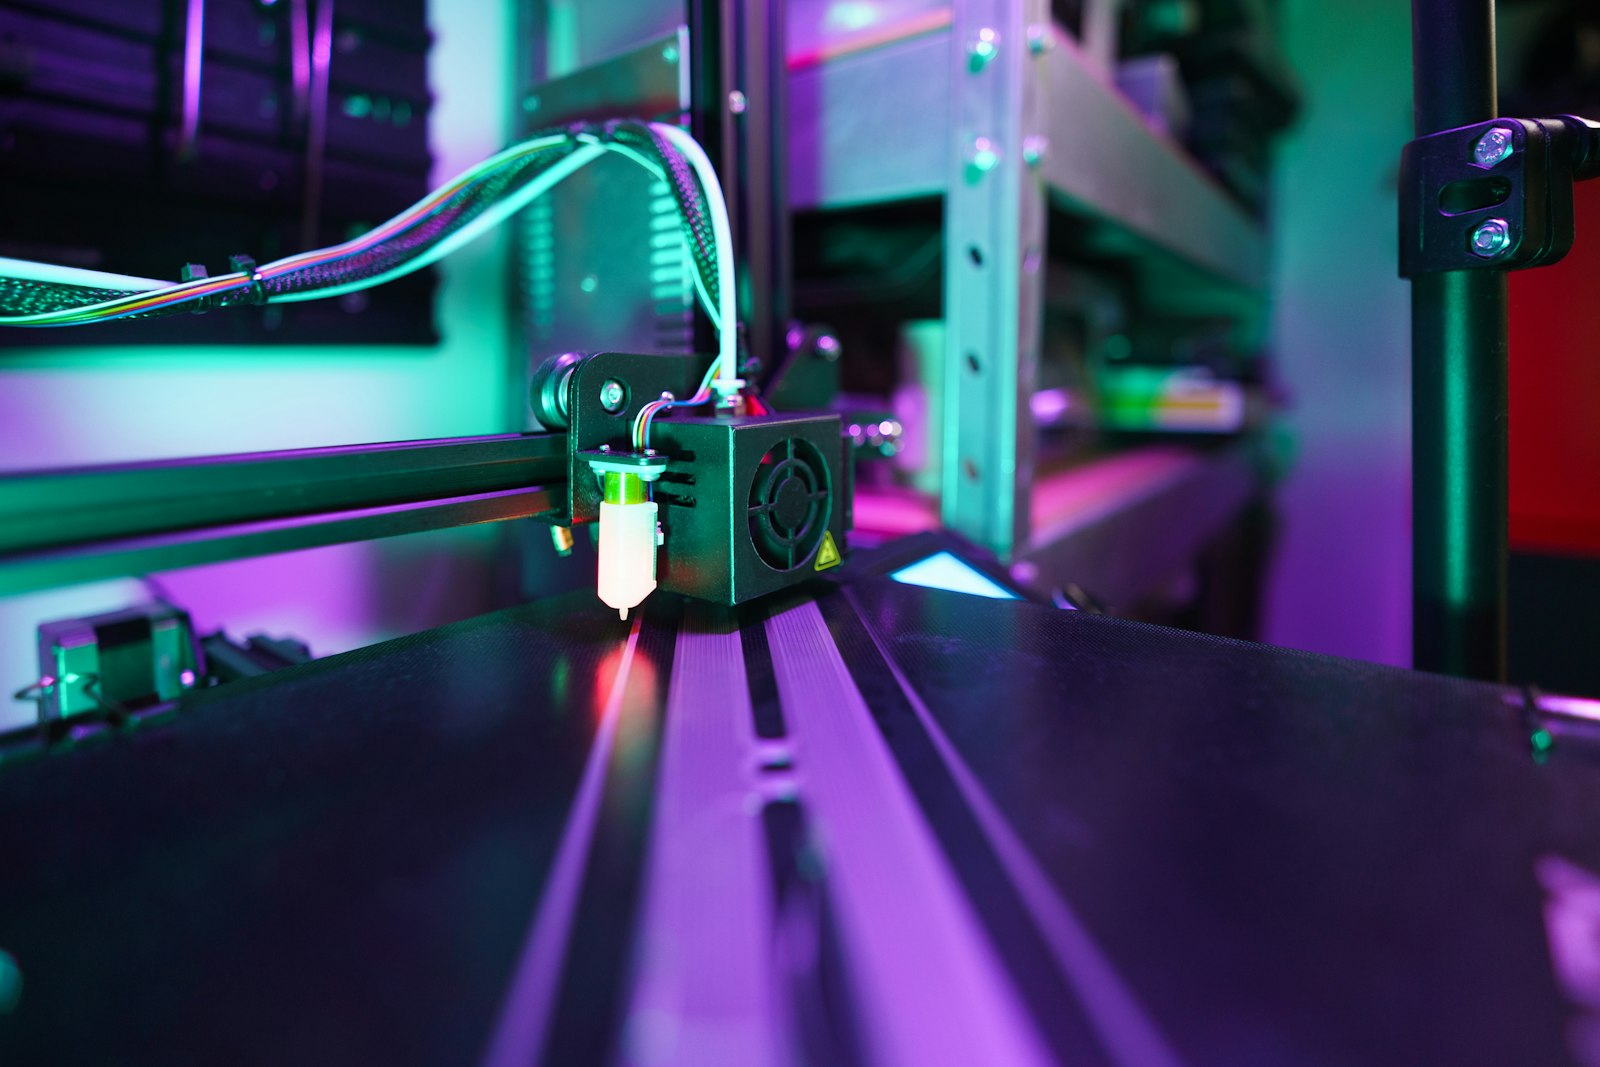
Bambu P2S PETG settings work best when the filament is dry and the correct Bambu Studio preset is active. PETG is one of the most useful materials for the P2S, but it exposes moisture, temperature and cooling mistakes faster than PLA, so change one variable at a time.
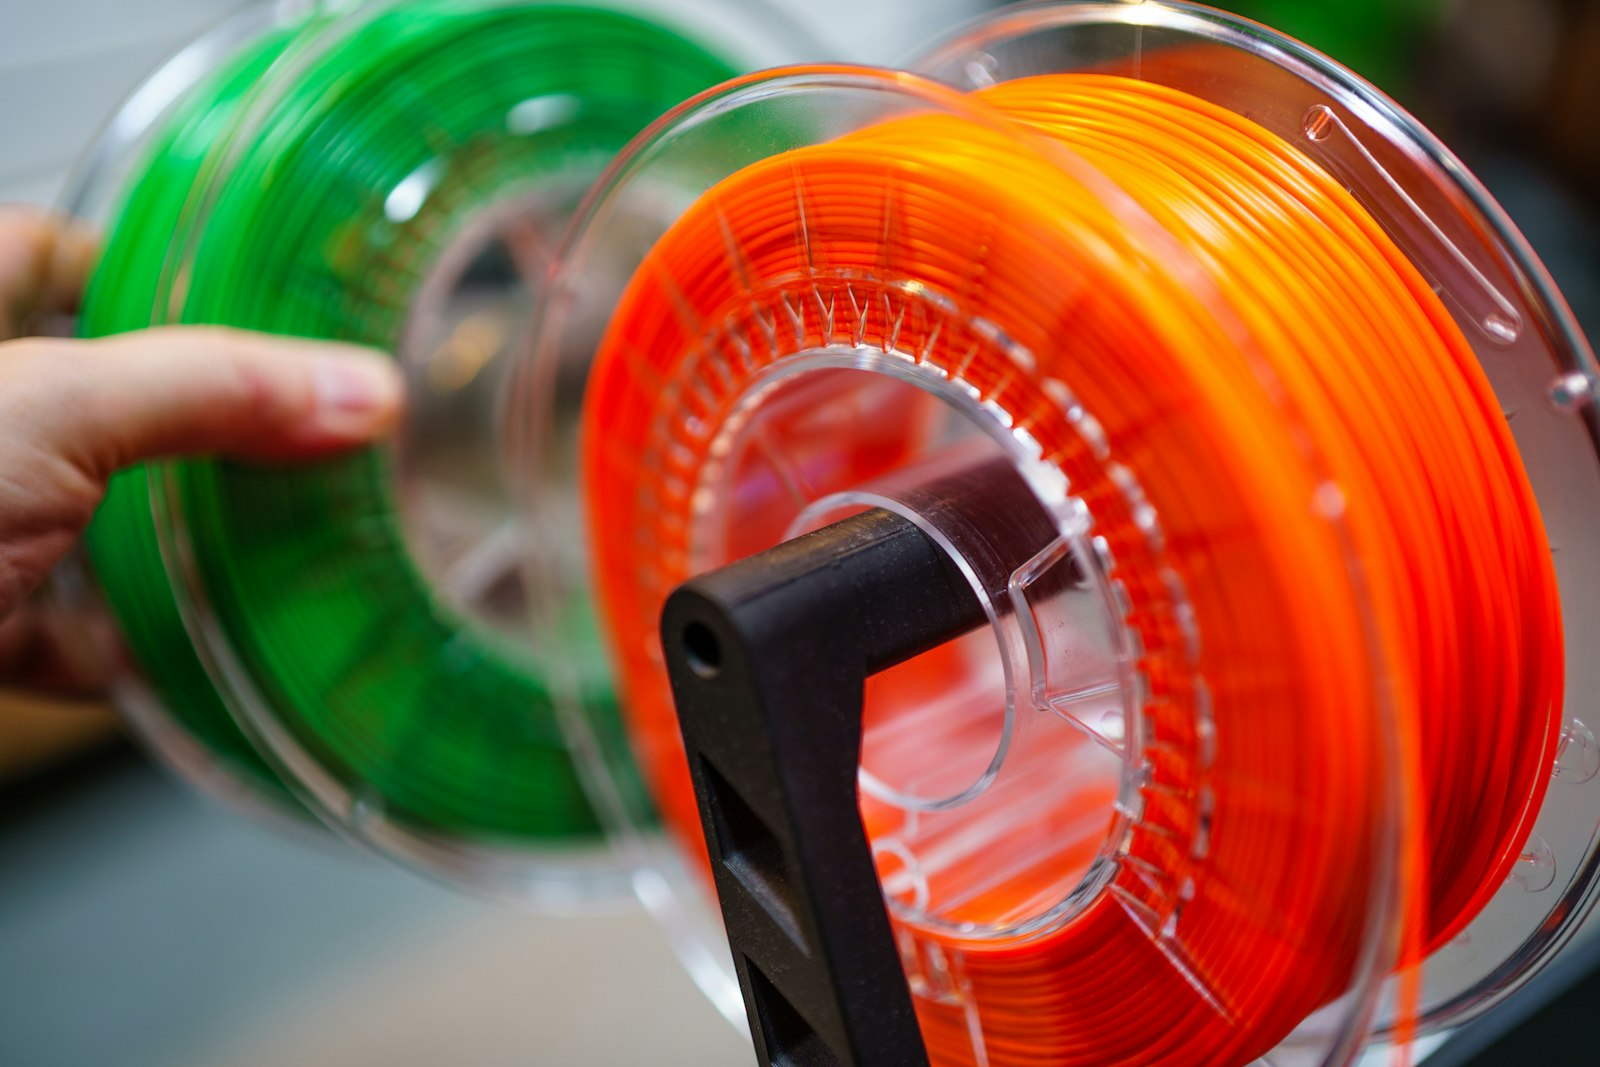
This guide separates three things that are often mixed together online:
- Bambu Lab’s published material and printer limits;
- conservative starting points for a standard 0.4 mm nozzle;
- adjustments that should be made only after a calibration print.
Quick-start Bambu P2S PETG settings
The table below is an editorial baseline, not a replacement for the profile supplied by the filament manufacturer. Start with the installed Bambu Studio profile whenever one exists.
| Setting | PETG Basic / generic PETG | High-flow PETG | What to watch |
|---|---|---|---|
| Nozzle | 245–255 °C | 250–260 °C | Raise temperature for weak or matte layers; lower it for heavy ooze after drying |
| Bed | 70 °C | 70–75 °C | Stay within the filament maker’s plate guidance |
| First layer | 20–30 mm/s | 20–30 mm/s | Clean the plate before increasing heat |
| Outer wall | 80–120 mm/s | 100–160 mm/s | Slow down for gloss consistency and dimensional accuracy |
| Part cooling | 30–60% after the first layers | 40–70% | Use more only for short layers and bridges |
| Auxiliary fan | 0–20% | 0–20% | Excess side cooling can weaken one side of a large part |
| Max volumetric speed | 10–14 mm³/s to start | 18–22 mm³/s to start | Calibrate the specific spool before increasing it |
| Retraction | Keep the P2S preset | Keep the P2S preset | Drying and temperature come before retraction changes |
These Bambu P2S PETG settings are intentionally conservative. Bambu Lab publishes a broad 230–260 °C nozzle range and 65–75 °C bed range for its PETG HF, while its comparison data lists a higher preset speed for PETG HF than for PETG Basic. That does not mean every PETG spool can sustain the same flow on every model.
Why Bambu P2S PETG settings differ from open printers
The P2S has a 300 °C maximum nozzle temperature, a 110 °C maximum bed temperature and a 0.4 mm nozzle as standard. PETG is well inside those hardware limits. The practical challenge is not whether the printer gets hot enough; it is balancing melt flow, chamber airflow and cooling.
The enclosed P2S also behaves differently from an open-frame printer. Long PETG jobs can warm the chamber, while aggressive auxiliary or exhaust airflow can cool one side of the model. Begin with the stock machine behavior and change ventilation only when the print gives you a clear reason.
Step 1: choose the correct filament profile
Use the exact Bambu Studio profile for Bambu-branded PETG when it is available. RFID through a compatible AMS can identify official filament, but the selected project profile still deserves a quick check before slicing.
For a third-party spool:
- Use the manufacturer’s profile if it explicitly supports the P2S.
- Otherwise begin with Generic PETG, not a random high-speed profile.
- Enter the temperature range printed on the spool or published by the manufacturer.
- Save a copy as a user preset before changing flow or cooling.
Do not use PETG HF settings merely because the spool says “rapid” or “high speed.” The useful limit is melt flow, and that varies by formulation, color and even production batch.
Step 2: dry PETG before tuning it
When Bambu P2S PETG settings seem inconsistent, dry the spool before changing retraction. Wet PETG can produce stringing, popping, rough surfaces, weak layers and inconsistent flow. Those symptoms can look like bad retraction or excessive temperature, which leads to the wrong adjustments.
Bambu Lab specifies 65 °C for eight hours in a blast drying oven for PETG HF and recommends keeping the filament below 20% relative humidity during printing and storage. Use the filament manufacturer’s instructions when they differ.
The AMS 2 Pro can reach 65 °C and supports drying for PETG-compatible spools. Confirm that the spool itself can tolerate the selected temperature. After drying, keep it in a sealed container or dry box with fresh desiccant.
See the full PETG drying guide for dryer, AMS 2 Pro and heatbed methods.
Step 3: tune nozzle and bed temperature
For ordinary PETG, 250 °C at the nozzle and 70 °C on the bed is a useful middle starting point for Bambu P2S PETG settings. Stay within the filament maker’s published range.
Raise nozzle temperature in 5 °C steps when:
- layers split too easily;
- the surface turns unusually matte as speed increases;
- under-extrusion appears only on fast sections;
- the extruder clicks despite a clean path and dry filament.
Lower nozzle temperature in 5 °C steps when:
- the dry spool still oozes heavily during travel;
- fine details become soft;
- bridges sag even with appropriate cooling.
For the bed, clean the plate with warm water and unscented dish soap before adding heat. Finger oils frequently cause more first-layer failures than an incorrect bed setting. PETG can bond strongly to smooth surfaces, so follow the build-plate guidance and use a release layer where the plate manufacturer recommends one.
Step 4: control speed with volumetric flow
For reliable Bambu P2S PETG settings, headline movement speed is not the most useful limit. Maximum volumetric speed controls how much plastic the hotend must melt per second.
Start generic PETG around 10–14 mm³/s and run a volumetric-flow test before going higher. High-flow PETG can often use a larger value, but the label alone is not proof. Stop below the point where the extrusion becomes rough, pale or weak.
If a print looks good on small parts but fails on long straight walls, the profile may be asking for more sustained flow than the spool can deliver. Reduce maximum volumetric speed before rewriting every individual wall speed.
Step 5: use cooling deliberately
PETG needs less cooling than PLA for strong layer bonding, but bridges and short layers still benefit from airflow.
A conservative starting point is:
- no part cooling for the first two or three layers;
- 30–60% part cooling for normal geometry;
- more cooling for bridges and very short layers;
- 0–20% auxiliary fan unless the model proves it needs more.
If one side of a large model looks weaker or more matte, compare that side with the auxiliary-fan direction. Reduce asymmetric airflow before raising temperature significantly.
Step 6: calibrate flow before retraction
Run flow dynamics and flow-rate calibration for an unfamiliar third-party PETG. Save the result with that filament preset rather than changing a global printer profile.
Retraction should come later. On a direct-drive P2S, large retraction changes can create inconsistent extrusion or increase the chance of a partial clog. If the filament is dry and temperature is sensible, use a small retraction test around the stock P2S value and adjust gradually.
Common Bambu P2S PETG settings problems
Stringing between parts
Dry the spool first. Then reduce nozzle temperature by 5 °C, check that the selected filament profile is actually active and test a small retraction change. Avoid changing all three at once.
Weak or matte layers
The hotend may be reaching its melt-flow limit. Raise nozzle temperature slightly or lower maximum volumetric speed. Reduce part or auxiliary cooling if layer adhesion is poor.
First layer will not stick
Wash the plate, confirm the correct plate is selected in Bambu Studio and inspect the nozzle for PETG residue before leveling. Use the filament maker’s bed-temperature range only after the surface is clean.
PETG sticks too strongly to the plate
Let the plate cool completely. Use a release layer on surfaces where the plate manufacturer recommends one, and avoid forcing the part off while the plate is hot.
Blobs on the nozzle or print
Check for moisture and nozzle buildup. A dirty nozzle can drag PETG into the first layer and later deposit it as a blob. Also confirm that flow ratio is not excessive.
PETG Basic, PETG HF or third-party PETG?
Choose PETG Basic or a conventional third-party PETG when toughness and forgiving layer bonding matter more than maximum speed. Choose a high-flow formula when production time matters and the spool has a supported profile or has been calibrated.
Bambu Lab’s published comparison lists roughly 200 mm/s as the material-level printing speed for PETG Basic and roughly 300 mm/s for PETG HF under its test conditions. Treat those as product comparisons, not guaranteed P2S wall speeds for every model.
For current product choices, see Best PETG Filament for Bambu Lab. For the broader material decision, compare PLA vs PETG vs PETG HF.
Final Bambu P2S PETG settings checklist
- Select the exact filament and build-plate profile.
- Dry the spool before diagnosing stringing.
- Begin near 250 °C nozzle and 70 °C bed, within the maker’s published range.
- Keep the first layers slow and fan-light.
- Limit generic PETG by volumetric flow, not headline travel speed.
- Calibrate flow before making large retraction changes.
- Change one variable at a time and save a spool-specific preset.
Sources and methodology
Hardware limits are based on Bambu Lab’s official P2S introduction and specifications. PETG temperature, bed, drying and comparative speed figures come from Bambu Lab’s official PETG HF product data and filament guide. AMS drying capability comes from the official AMS 2 Pro specification. Editorial starting ranges are intentionally conservative and should be validated against the specific spool and model geometry.
FAQ
Are these Bambu P2S PETG settings safe for every spool?
They are conservative starting points, not universal limits. Keep the filament maker’s temperature range and the active build-plate guidance above any generic recommendation, then validate with a small test print.
What nozzle temperature should I use for PETG on the Bambu P2S?
Start around 250 °C for a conventional PETG with a 0.4 mm nozzle, then stay within the spool manufacturer’s published range. Increase temperature for weak layers at speed and decrease it for persistent ooze only after the filament is dry.
What bed temperature should I use?
About 70 °C is a practical starting point. Bambu Lab publishes a 65–75 °C bed range for PETG HF with glue; plate and filament instructions take priority.
Can the P2S print PETG through the AMS 2 Pro?
Yes, standard PETG is within the AMS 2 Pro’s supported material list. Confirm spool dimensions and condition, and avoid damaged cardboard edges that can increase feeding resistance.
Should I keep the P2S door closed for PETG?
Begin with the stock machine and filament profile. Change door or ventilation behavior only when chamber heat or airflow is producing a repeatable defect; room temperature, print size and cooling settings all change the answer.
Why does PETG string even after increasing retraction?
Moisture and excess nozzle temperature often mimic a retraction problem. Dry the spool, confirm the correct profile and test temperature before making a large retraction change.