

FilamentPicks is reader-supported. Some links are affiliate links; as an Amazon Associate we earn from qualifying purchases at no extra cost to you. Polymaker links may also earn us a commission. Recommendations are based on manufacturer documentation and documented maker feedback, not undisclosed hands-on lab testing.
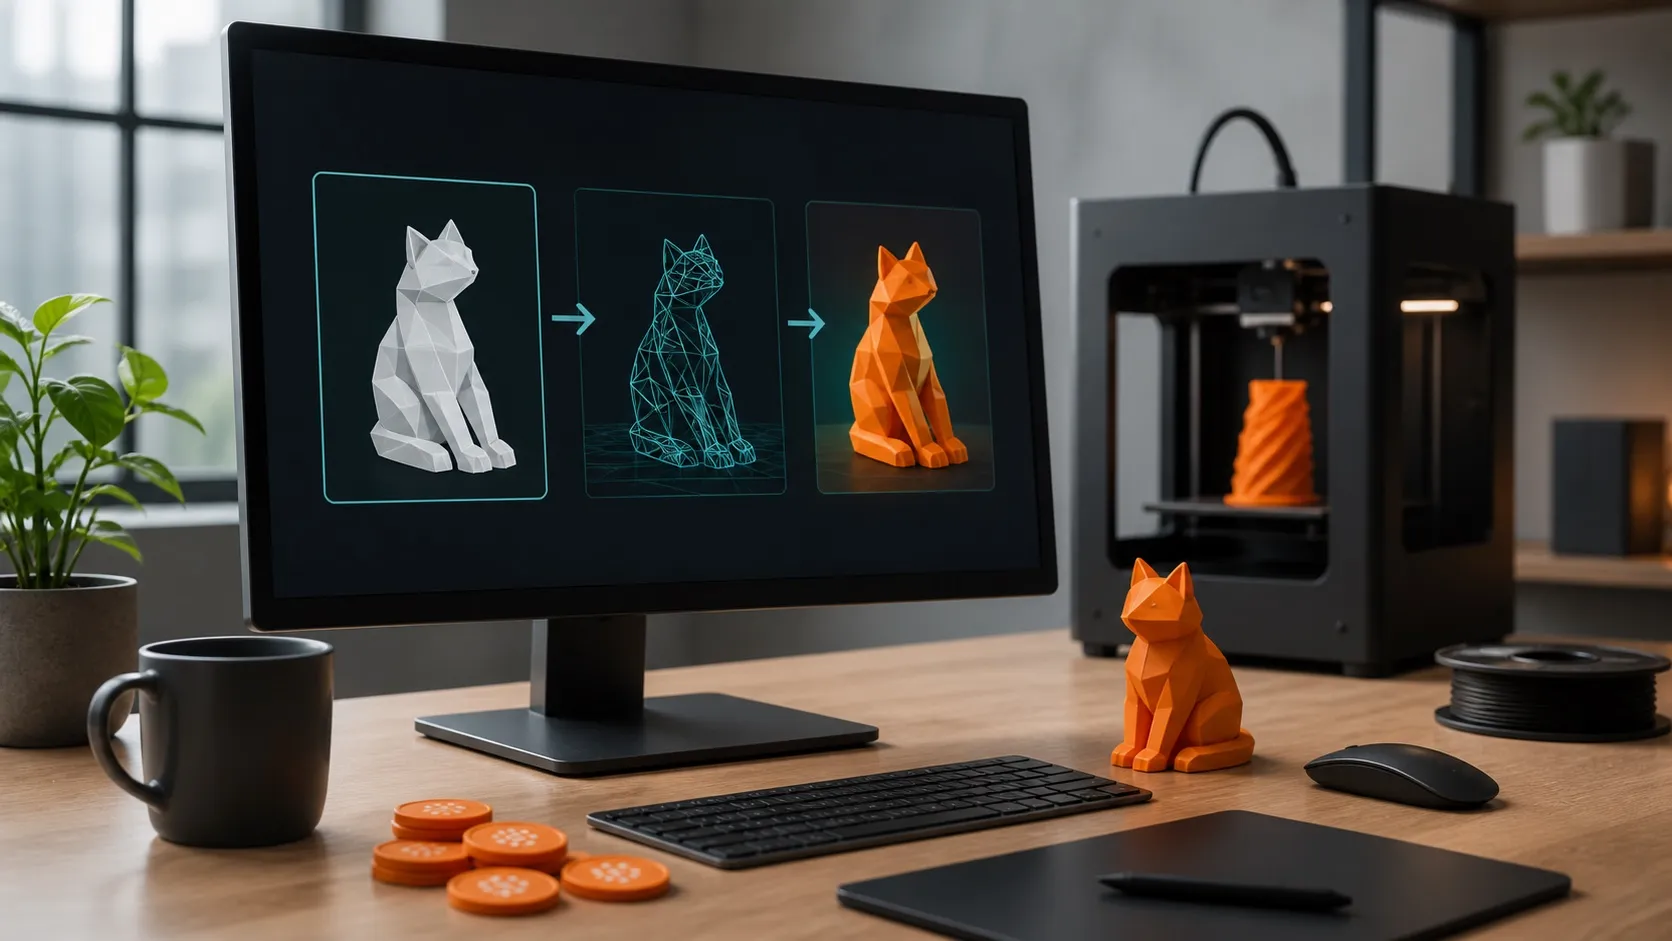
MakerLab credits are the usage currency behind selected AI-powered tools on MakerWorld. The short version: some tools charge credits when you generate an asset, the exact cost should appear before you start, and Bambu Lab now supports both direct purchase and exchange from MakerWorld Points. This guide explains the current system, the important rules, and how to avoid wasting credits.
MakerLab credits: the quick answer
| Question | Current answer |
|---|---|
| What are they for? | Paying for compute-heavy MakerLab AI generations. |
| When are they charged? | Usually when a generation starts, not when you later export the result. |
| Can you exchange points? | Yes. MakerWorld announced an exchange rate of 80 Points for 600 credits. |
| Can you buy credits? | Direct purchase is supported; the account screen shows the available packs and price. |
| Are free credits renewed monthly? | The former monthly allowance was replaced by limited trial uses for supported features. |
| What happens after a technical failure? | System-caused failed generations should be refunded; a manual regeneration is a new paid run. |
What are MakerLab credits?
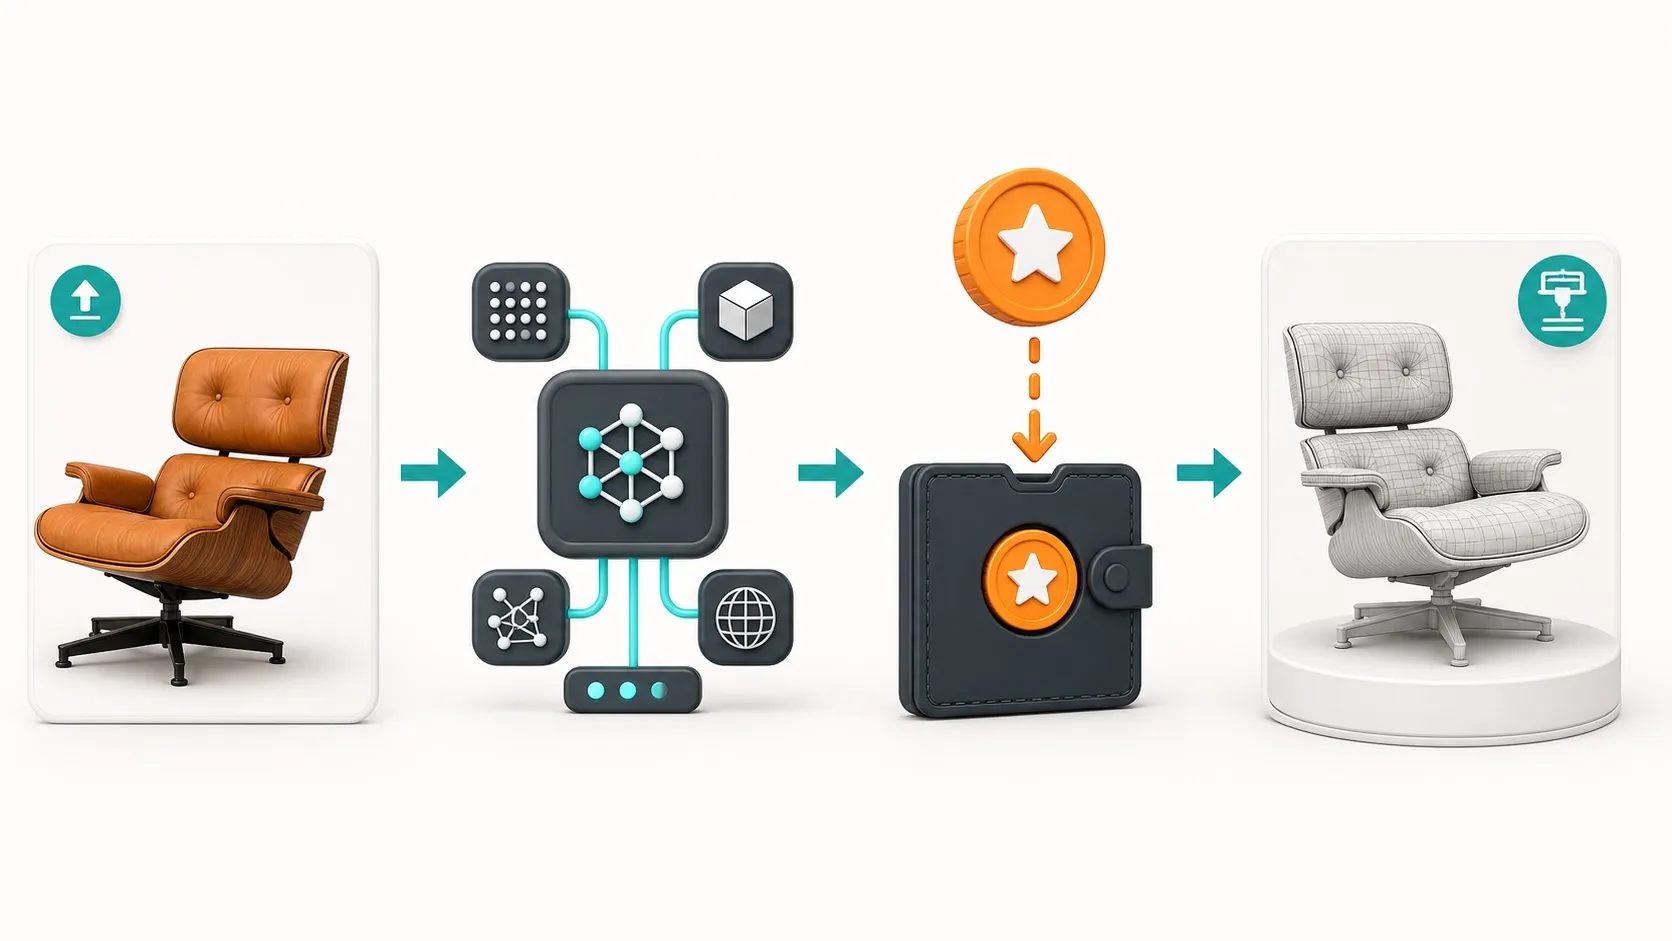
MakerLab credits are separate from MakerWorld Points. Points are rewards earned through activity on the platform. MakerLab credits are consumed by supported AI tools that need server-side processing, such as image-to-3D and other generative workflows. In practical terms, points are a reward balance; credits are a compute balance.
This separation matters because a successful generation may consume credits even if you decide not to download, publish, or print the result. The expensive part is the AI computation itself. That is why the safest habit is to prepare a clean source image and a precise prompt before pressing Generate.
How much do MakerLab credits cost?
There is no single reliable cash figure that applies to every user, region, pack, and tool. Direct-purchase options and the MakerLab credits cost of individual tools can change. The trustworthy number is the one MakerLab displays in your account and in the confirmation screen immediately before generation.
For users with MakerWorld Points, the official billing announcement introduced a reference exchange of 80 MakerWorld Points for 600 MakerLab credits. That is useful for comparing the opportunity cost of spending points on AI generations instead of other Points Shop rewards. Check the current Points Shop entry before exchanging because platform rules can evolve.
How to get MakerLab credits
1. Buy credits directly
Open the relevant MakerLab tool or your credit balance and review the packs available to your account. Compare the pack size with the exact cost of the generation you plan to run. Buying a very large balance only makes sense if you already have a repeatable workflow.
2. Exchange MakerWorld Points
The Points Shop can convert reward points into credits. This route avoids a cash payment, but points have alternative uses. Before converting, compare the value of the credit pack with the vouchers or physical rewards you would otherwise claim.
3. Use limited trial generations
New or eligible accounts may receive limited trial uses for certain MakerLab features. These trials are not the same as a recurring monthly credit grant. Use them on well-prepared inputs because they may not renew.
Which MakerLab tools use credits?
Tools using MakerLab credits have included workflows such as Image to 3D, Make My Statue, and PrintMon Maker. MakerWorld can add, remove, or reprice tools, so do not assume that every MakerLab feature uses the same amount. The interface should show the exact requirement before a billable action.
If your goal is to produce a printable object rather than a decorative render, plan beyond the AI generation. Wall thickness, overhangs, mesh errors, orientation, and filament choice still determine whether the model prints reliably. Our Bambu Filament Finder can help match the final model to a material, while the 3D Print Cost Calculator estimates the physical print cost after slicing.
When are credits charged?
For supported tools, billing can happen at generation time. Exporting is not necessarily the chargeable event. Read the confirmation screen carefully and assume that pressing Generate authorizes the displayed amount. If you dislike the output and press Regenerate, that second run is normally another billable generation.
A system-side failure is different. MakerWorld states that credits used by failed generations caused by the platform should be returned. If the balance does not recover after the processing window, save the job details and contact support rather than repeatedly launching the same request.
7 ways to spend fewer MakerLab credits
- Crop the source image tightly. Remove irrelevant background objects and leave one clear subject.
- Use even lighting. Strong shadows, reflections, and transparent parts give an image-to-3D model less reliable shape cues.
- Describe the target object, not a story. State the form, pose, surface style, and intended use in plain language.
- Choose the correct tool first. A statue workflow, relief workflow, and general image-to-3D workflow solve different problems.
- Run one controlled variation at a time. Change only the prompt or only the source image so you know which improvement mattered.
- Inspect previews before regenerating. A weak-looking render may still contain a usable mesh that can be repaired locally.
- Keep a prompt log. Save successful prompts, source images, settings, and credit cost so future runs become repeatable.
MakerLab credits vs. MakerWorld Points
The names are easy to mix up, but the balances serve different purposes. MakerWorld Points are earned rewards. MakerLab MakerLab credits fund AI computation. Converting points to credits is generally one-way for the selected transaction, so decide what outcome you value more before exchanging.
For occasional experiments, limited trials or a small conversion may be enough. For a production workflow, calculate the average number of generations required for one usable model. A tool that appears inexpensive per run becomes costly if each finished asset takes six retries.
A practical pre-generation checklist
- The subject is centered and fully visible.
- The background is simple and visually distinct.
- The prompt defines shape, pose, style, and purpose.
- You have checked the displayed credit cost.
- You know whether the action charges on generation.
- You have saved the source and prompt for later comparison.
- You have a plan to repair, slice, and test-print the result.
Frequently asked questions
Can I use MakerLab without buying credits?
Some features may offer limited trial uses, and MakerWorld Points may be exchangeable for credits. Availability depends on the account and the current feature policy.
Do MakerLab credits expire?
Expiration and promotional-credit rules can depend on the credit type and current terms. Review the balance details shown in your account before purchasing or exchanging a large amount.
Will I be charged if the generation fails?
MakerWorld says system-caused failed generations should be refunded. A new regeneration requested by the user is normally charged as a separate run.
Where can I see the exact price?
Check the billable tool immediately before starting a generation. The displayed cost is more reliable than an older article or screenshot because tools and pricing can change.
How to evaluate the real cost of a usable model
The displayed generation price is only the first layer of cost. A useful comparison measures credits per printable result. Record how many attempts a project needs, how many meshes require repair, and how many test prints fail. If one tool produces a usable model in two runs while another needs six, the apparently more expensive generation may be the cheaper workflow.
Create a simple project note with five fields: tool, source image, prompt, credits charged, and result. Mark the result as unusable, repairable, or print-ready. After ten projects, this log reveals which source-image style and prompt structure give you the best conversion rate. It also prevents you from paying again for experiments you have already tried.
A better prompt template for image-to-3D
A concise production prompt can follow this order: object + pose + proportions + surface + exclusions + print purpose. For example: “single sitting fox figurine, compact proportions, smooth carved surface, symmetrical face, no background, no floating details, designed for an FDM desk ornament.” This gives the generator a physical target instead of an open-ended scene.
Avoid conflicting style instructions and details that cannot survive the intended scale. Very thin whiskers, chains, feathers, or unsupported fingers may look impressive in a preview but fail during slicing. If the part will be printed at 80 mm tall, ask for broad shapes and connected features. That improves the chance that your MakerLab credits produce geometry you can actually use.
What to do after the AI generation
- Download the mesh and inspect it for holes, self-intersections, and disconnected shells.
- Confirm that the base is flat and that small details meet the main body.
- Repair the model in a trusted mesh tool before scaling it.
- Slice at the intended final size and inspect every layer in preview.
- Run a small test print before committing expensive filament or a long production job.
AI-generated geometry should be treated as a starting asset, not guaranteed manufacturing data. A clean slice preview is more valuable than a beautiful render because it reveals floating islands, fragile walls, and difficult overhangs before material is wasted.
What to save when requesting a credit refund
If a generation fails because the service stops processing, the page errors, or no result is produced, preserve evidence before starting another run. Take a screenshot of the error, copy the job identifier if one is shown, note the tool name and time, and record the MakerLab credits balance before and after the attempt. Clear documentation makes it easier for support to distinguish a platform failure from a result that simply did not match your artistic expectations.
Wait for the normal processing and balance-update window before reporting the charge. Do not launch many identical jobs while the first request is unresolved. If your MakerLab credits do not return, send support one concise report containing the account, date, job ID, displayed error, and MakerLab credits deducted. Never include your password or authentication codes.
Set a monthly credit budget
For casual use, decide in advance how many finished assets you want during the month. Multiply that target by your observed average generations per usable model, then add a small testing allowance. This is more accurate than buying MakerLab credits based on enthusiasm after one successful demo.
For commercial projects, assign MakerLab credits to a client or product code and include mesh repair plus test printing in the project cost. The AI generation may be fast, but production time still includes cleanup, slicing, validation, photography, and revision. A clear budget keeps cheap experiments from silently becoming expensive deliverables.
Check rights and privacy before uploading
Only upload images you have the right to use. Avoid confidential client drawings, personal photographs without consent, protected characters intended for sale, or product designs covered by an agreement. Review the current MakerWorld terms for ownership, retention, and commercial-use conditions before processing sensitive or monetized material.
For a safer workflow, remove names, logos, location clues, and unnecessary faces from reference images. Store the original source and the generated asset with a clear license note. Good rights hygiene is not only legal housekeeping; it also makes the model easier to publish, share, and reuse later.
Need filament for the generated model?
Compare current 1.75 mm filament options after the mesh is repaired and ready to slice.
Check filament on Amazon →Prefer Polymaker?
Shop directly from Polymaker and use code BALUTAVLAD for 15% off your first order.
Shop Polymaker →Bottom line
MakerLab credits make the cost of AI generation visible, but the best value comes from reducing avoidable retries. Prepare the input, confirm the price, keep a prompt log, and judge success by usable printable models rather than the number of generations. For the background behind the billing change, read our earlier report on the MakerWorld MakerLab credit billing update.
Official source: MakerWorld billing-rules announcement.