

👉 See also: The Bambu Lab Filament Tier List for 2026: Every Major Brand Ranked — our full research-based guide.
Transparent 3D printing is one of those challenges that looks deceptively simple until you actually try it. Achieving genuinely clear or even convincingly translucent parts requires a careful combination of material choice, printer settings, and post-processing — and for Bambu Lab users specifically, knowing which filaments and profiles to reach for makes a significant difference.
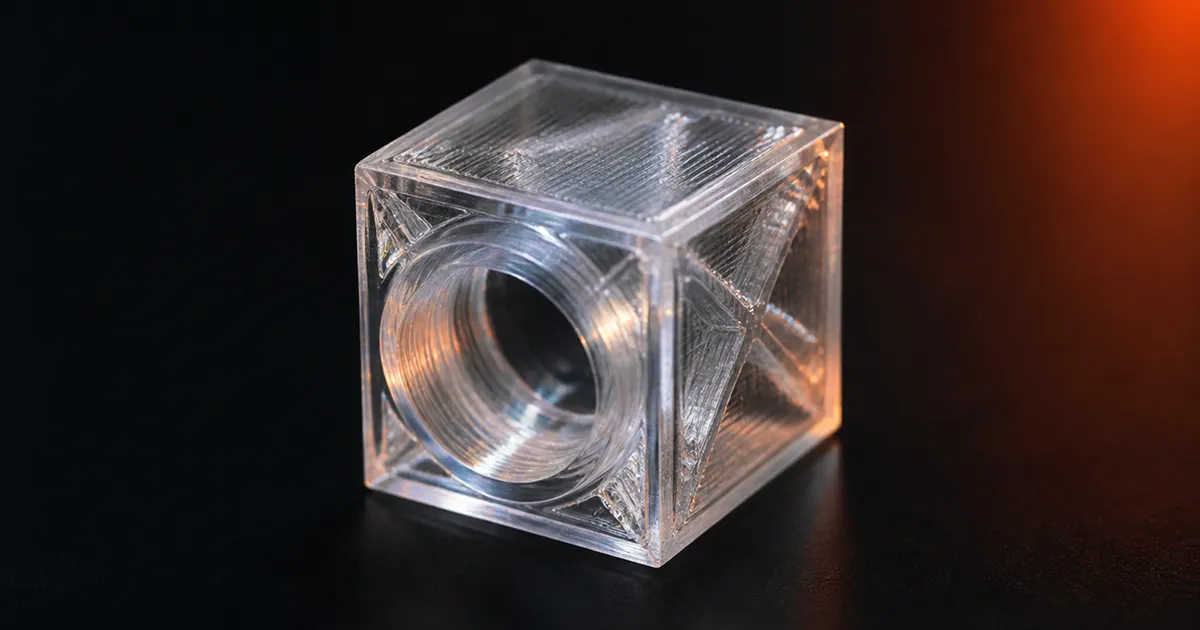
(IMAGINE_1)
What This Means for Bambu Lab Users
Bambu Lab’s ecosystem — particularly the X1C, P1S, and A1 series — is well-suited for transparent printing, but the hardware alone won’t do the work. According to materials researchers and community members who have documented transparent printing extensively, the two most accessible filament types for this application are PETG and PC (polycarbonate). Both are natively supported by Bambu Lab printers with appropriate profiles available in Bambu Studio.
PETG is by far the more beginner-friendly option. It prints at relatively modest temperatures (around 230–250°C), produces naturally translucent results, and is far less prone to warping than PC. The trade-off is that it rarely achieves full optical clarity straight off the bed — most PETG prints land somewhere between frosted and translucent, which can actually be desirable for diffuser panels, light pipes, or decorative enclosures.
Polycarbonate is the more demanding route but also the more rewarding one when optical clarity is the goal. It requires enclosure printing (the X1C and P1S have an advantage here), elevated bed temperatures, and typically benefits from pre-drying. According to reporting by 3DNatives, PC can reach near-glass-like transparency with the right sanding and polishing sequence post-print — though that finishing work is non-trivial.
Key Factors That Affect Optical Clarity
Layer height is one of the most impactful variables, as reported by multiple sources covering transparent filament workflows. Thinner layers — 0.1mm or 0.12mm rather than the standard 0.2mm — reduce the diffraction caused by layer boundaries and allow more light to pass through uniformly. On Bambu Lab printers, the 0.2mm nozzle paired with a 0.1mm layer height setting delivers noticeably better optical results, though at the cost of print time.
Wall count matters just as much. Increasing perimeter count to four or even six walls, while reducing or eliminating infill, creates a denser, more homogenous structure that light travels through more cleanly. Some community members recommend printing transparent parts with 100% rectilinear infill at 0° and 90° alternating angles specifically to minimize visual noise.
Moisture is frequently cited as a transparency killer. PETG and especially PC are hygroscopic — they absorb ambient humidity quickly, and wet filament produces micro-bubbles that scatter light internally, turning what should be clear into milky or hazy. Bambu Lab’s AMS system helps with storage, but for serious transparent work, active drying in a filament dryer before the print run is essentially non-negotiable.
Post-processing can close much of the remaining gap. Wet sanding through progressively finer grits (400 → 800 → 1500 → 3000) followed by a polishing compound is the most documented approach. Some users also apply a thin coat of clear resin or Mod Podge to fill surface micro-scratches, which can dramatically improve light transmission on PETG parts.
What’s Next
Transparent printing sits at an intersection of material science and finishing craft that rewards patience. For Bambu Lab owners, the practical starting point is clear PETG from a reputable brand — Bambu Lab’s own PETG HF is a reasonable baseline — dried thoroughly and printed with thin layers in a clean enclosure. From there, PC opens the door to genuinely impressive optical results, but it demands a more controlled setup. Anyone working on light-diffusion panels, protective covers, or visual display components should consider this one of the more underutilized capabilities of an FDM machine sitting on their desk.
Source: source